
Serving Hardeeville, Bluffton, Okatie, Pooler, Beaufort, Savannah & Ridgeland

How We Transform Your Garage: The 7-Step Process

A garage floor is only as good as the preparation underneath it. Here's exactly how Tonny installs a floor that lasts, from the first visit to the final walkthrough.

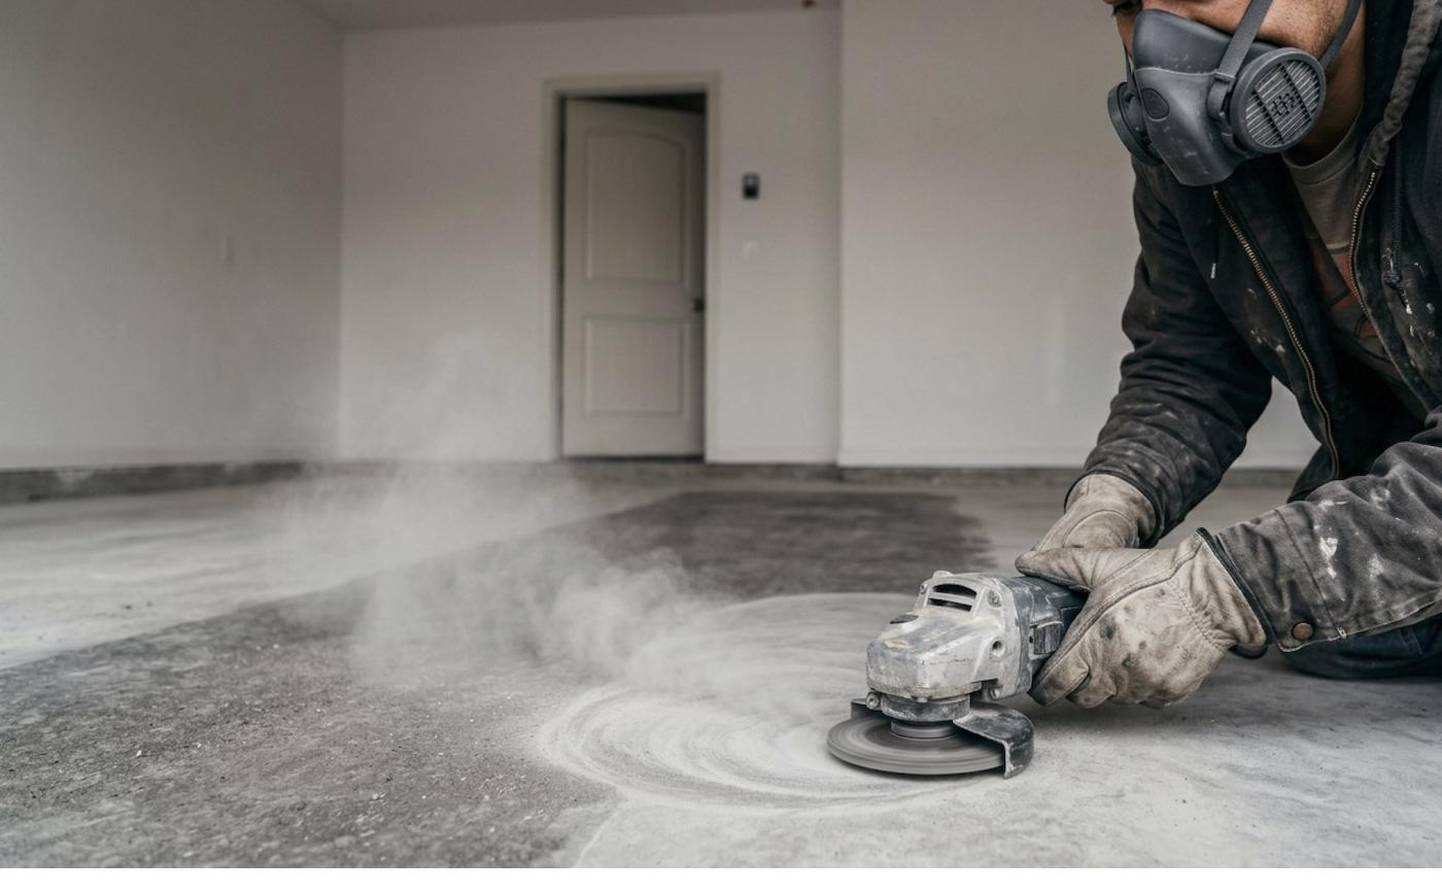
Diamond grinding concrete garage floor preparation before epoxy coating
1

Free On-Site Consultation

Tonny comes to your home in person — no salesperson, no measuring tape handed off to a stranger. He walks the floor, checks for cracks, tests the concrete for moisture, and looks for any previous coatings or sealers that could cause adhesion problems. You'll see real flake color samples side by side so you can choose with confidence, not guesswork. At the end, you get a firm, written quote for the whole job. No hidden line items, no per-square-foot math you have to do yourself.

2

Surface Preparation

This step is the difference between a floor that lasts a decade and one that peels in two years. Tonny runs a commercial diamond grinder across the entire surface, opening up the concrete pores and removing any old paint, sealer, or failed coating. Where needed, he follows with an acid etch to chemically clean the concrete and further improve bonding. Cracks and spalled areas are filled and leveled with a structural repair compound and allowed to cure before anything else goes down. Most companies skip or rush this step to save time. Tonny does not.

3

Primer Coat

After prep, a penetrating epoxy primer is rolled into the freshly ground surface. The primer soaks into the open pores of the concrete and creates a mechanical bond that no subsequent coat can achieve on its own. It also seals off moisture vapor that would otherwise push up through the slab and cause bubbling or delamination down the road. This is especially important in the Lowcountry, where ground moisture levels are high year-round. The primer cures before the base coat goes on so nothing is rushed.

4

Base Coat + Flakes

The main coating — either a high-solids epoxy or a polyaspartic, depending on what was quoted — is applied in a full, even layer across the primed surface. While the coating is still wet, decorative vinyl flakes are broadcast by hand across the entire floor. Tonny casts them in a consistent pattern so the finished look is uniform from wall to wall, not blotchy or thin in the corners. You can choose from over 140 color blends, and Tonny can adjust the flake density from a light scatter to a full broadcast that hides the base color completely.

5

Top Coat

Once the base coat and flakes have set, any loose flakes are scraped and the surface is lightly abraded to give the top coat something to grip. A clear polyaspartic or urethane top coat is then applied over everything. This layer is what protects the color and the flakes from UV light, tire marks, oil drips, road salt, and daily foot traffic. It also determines the sheen — Tonny can apply a satin or a high-gloss finish depending on your preference. The top coat is what people see and touch every day, and it's formulated to resist yellowing even in a garage with south-facing doors.

6

Curing

Curing time depends on the product system used. Standard epoxy floors are ready for foot traffic in 12 to 24 hours and vehicle traffic in 48 to 72 hours. If a polyaspartic system was applied, the floor can typically handle foot traffic in as little as 4 to 6 hours and vehicles within 24 hours. Temperature and humidity affect curing, which is why Tonny schedules jobs based on conditions and never rushes a coat before the previous one is fully set. You'll get a clear timeline at the walkthrough so you know exactly when you can move back in.

7

Final Inspection & Walkthrough

Before Tonny packs up, he walks every inch of the finished floor with you. He points out what was done, answers any questions about the curing timeline or care, and goes over simple maintenance tips that will keep the floor looking good for years — things like which cleaners are safe, what to put under car jacks, and how to handle any hot tire marks in the first few weeks. If anything doesn't meet your expectations, it gets addressed before he leaves. Your warranty starts the day the job is done.

What Most Companies Do vs. What Tonny Does

What Most Companies Do

  • Send a salesperson, then a subcontractor crew you've never met
  • Skip grinding and roll coating over dirty concrete
  • Charge by the square foot, inflating small jobs
  • Promise a 'lifetime warranty' full of exclusions
  • Disappear after the check clears

What Tonny Does

  • Quotes the job himself and installs it himself
  • Diamond grinds and acid etches every floor for real adhesion
  • Prices by the job, fair for garages, patios, and showers alike
  • Backs the work with an honest 3-year labor warranty
  • Walks the finished floor with you and answers your texts after

Ready to Get Started?

Text Tonny a photo of your garage and he'll get back to you with a free estimate.